Broken wire? Here’s how to fix it.
Click on the links to jump to each section.
- Required wire and tools
- How to put the wire on your reed
- How to know if your wire is adjusted properly
Required wire and tools
Wire
Having the right kind of wire is essential. You cannot go down to the craft store and buy any old kind of wire. Amazon isn’t even a good option. You will get the right stuff if you buy it from a double reed supplier. It needs to be:
Soft Round Brass Wire
Soft round brass wire comes in different gauges (thicknesses). The higher the gauge, the thinner the wire. Most bassoonists use 22 gauge soft round brass wire. The word soft is important. (Some teachers like 21 gauge and others like 23 gauge. Check with your teacher.) Here are some links to proper wire: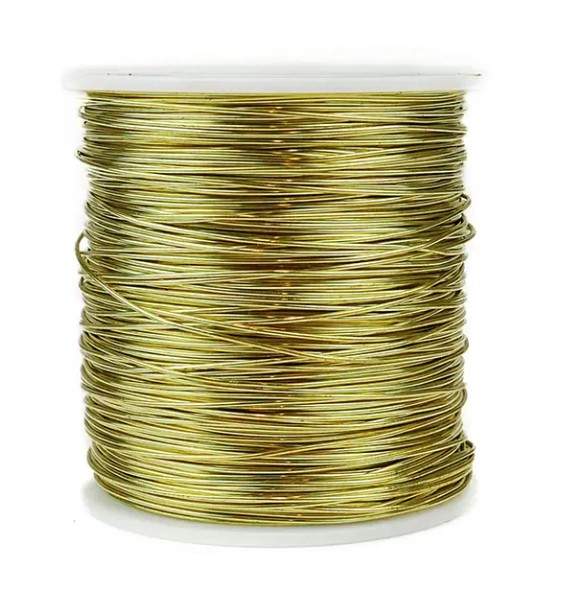
Tools
Click the plus signs below to learn more about these essential tools.
Tying wires takes a lot of practice. If you’re frustrated at first, stick with it. It becomes a lot easier with practice. Wires can be tightened in a clockwise or counterclockwise direction. Over 60% of bassoonists use a clockwise twist. Here is a video that shows how to put on a wire with a clockwise twist. (Skip to video.)
You will know if your wire is adjusted properly by checking two things. The brief slideshow below will take you through some examples of reed wires that have not been put on properly. Do you see any of the same issues with your reed wires? Any old set of pliers will get the job done. Go out to the tool shed and poke around. You can probably find something that will work. If you are willing to invest $8–30, then head to the hardware store (or Amazon) and look for a pair of lineman’s pliers. Lineman’s pliers have a blunt end. It’s easier to grasp wires with a blunt end than it is with needle nose pliers. The 5–6-inch-long ones are good because they fit well in a bassoon case. You can also get fancy pliers made specifically for bassoon reed making. They are available at Midwest Musical Imports, Forrests Music, and other double reed suppliers.
 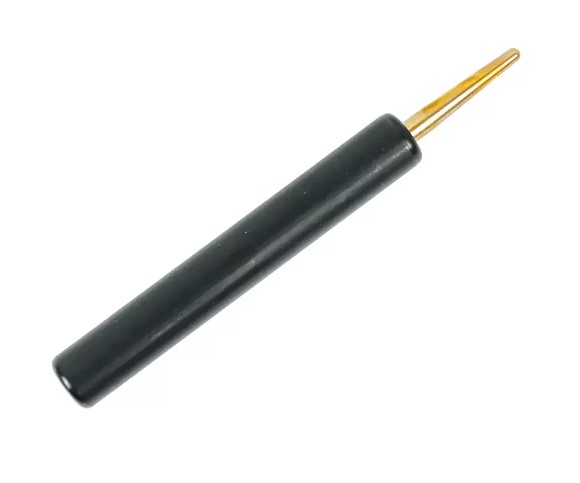 If you put a wire on a reed without putting the reed on a holding mandrel, you run the risk of cinching the wire too tightly around the reed and deforming the tube of the reed. You also use a mandrel when you use a knife or a file (or sometimes sandpaper) to make adjustments to the blade of the reed. There are lots of mandrels available. You don’t need a fancy holding mandrel. I recommend the regular Fox holding mandrel.
 How to Put the Wire on Your Reed
How to Know if Your Wire is Adjusted Properly